Create a stylish table runner in just 10 minutes with minimal fabric! Perfect for beginners or quick gifts, this project adds instant charm to any room.
Overview of the Project
This quick DIY project allows you to create a stylish table runner in just 10 minutes. Perfect for beginners or last-minute decor needs, it requires minimal fabric and simple sewing skills. The design is versatile, suitable for any occasion, and can be customized to match your home decor. With clear, step-by-step instructions, you can achieve professional-looking results effortlessly. It’s an ideal way to enhance your table setting without spending hours on complex patterns or techniques.
Benefits of a Quick DIY Table Runner
A 10-minute table runner offers numerous benefits, including quick results and minimal fabric waste. It’s perfect for beginners, requiring only basic sewing skills and simple tools. This project is ideal for last-minute gifts or decor updates, allowing you to add a personal touch to any table setting. The fast completion time makes it a great way to practice sewing techniques or try new fabric combinations without a long-term commitment. Its versatility ensures it suits various occasions, from casual gatherings to formal events, while the satisfaction of a speedy DIY project boosts creativity and confidence.

Materials Required
Fabric (main and coordinating prints), thread, sewing machine, scissors, and measuring tape are essential. Minimal yardage needed, making it a cost-effective and efficient DIY project.
Fabric Requirements for the Table Runner
Use 1/3 yard of a theme print and 1/2 yard of a coordinating fabric for the backing or border. Cotton fabrics work best for durability and style. Ensure fabrics are pre-washed to avoid shrinkage. Coordinating prints add visual appeal, while contrasting fabrics create a striking look. Fabric width should match for seamless construction. Choose patterns that complement your home decor for a polished finish. Minimal fabric waste makes this project eco-friendly and efficient.
Additional Supplies Needed
Gather essential tools: a sewing machine, rotary cutter, cutting mat, and ruler for precise cuts. Thread, pins, and scissors are also necessary. Iron and ironing board help finish seams. Optional: decorative stitches or embellishments for a personalized touch. Ensure all supplies are within reach to maintain efficiency. These tools will help you complete the project quickly and achieve professional-looking results. Proper preparation is key to a smooth sewing experience.
Step-by-Step Guide
Quickly create your table runner by cutting fabric, sewing seams, and finishing edges. Follow simple steps to complete the project efficiently in just 10 minutes.
Cutting Fabric to Size
Begin by measuring and cutting your fabric according to the pattern or desired size. For a standard table runner, cut two rectangular pieces, ensuring they are evenly aligned. Use a rotary cutter or scissors for precise cuts. If using different fabrics for the top and backing, ensure both pieces match in width and length. Trim any excess material carefully to maintain straight edges. This step sets the foundation for a professional-looking finish, so accuracy is key to achieving a polished result. Always double-check your measurements before cutting to avoid waste. Properly aligned fabric ensures smooth sewing and a flawless final product. Keep your workspace clean to prevent mistakes and stay organized throughout the process. Cutting accurately saves time during assembly and guarantees a beautiful table runner. Use a ruler or mat for guidance to maintain consistency and precision in your cuts. Smooth, even edges are essential for a professional finish. Take your time to ensure each piece is cut correctly, as this step impacts the overall quality of your project. With precise cuts, you’ll achieve a seamless and attractive table runner. Happy crafting!
Sewing the Runner Together
Place the two fabric pieces right sides together, ensuring edges align perfectly; Sew along the lengthwise edges using a 1/4-inch seam allowance. Leave a small opening to turn the runner right side out. Carefully press the seams with an iron to create a crisp fold. Once turned out, tuck the raw edges of the opening under and press again. This step ensures a clean finish and prepares the runner for use. Sewing is quick, taking only a few minutes, and results in a professional-looking table runner. Keep stitches consistent for a polished appearance. Proper alignment and even pressure ensure a smooth, flat finish. This step is crucial for achieving a seamless and attractive final product. With quick sewing, your table runner will be ready to enhance any table setting in no time. Ensure all seams are secure before moving on to finishing touches. A well-sewn runner guarantees durability and style. Happy sewing!
Finishing the Edges
After sewing, turn the runner right side out and press the seams flat with an iron. Fold the raw edges of the opening under by 1/4 inch and press again. Topstitch along the lengthwise edges for a polished look. This step ensures the runner lies flat and maintains a professional finish. For extra durability, add a narrow hem or decorative stitch along the edges. Properly finishing the edges prevents fraying and enhances the runner’s appearance. This final touch completes your quick DIY project. Ensure all stitches are secure for a long-lasting result.

Accessing the PDF Pattern
Easily download the 10 Minute Table Runner PDF pattern from trusted sources like Etsy or Pinterest. Follow the link, purchase or access for free, and start sewing immediately with clear instructions.
Downloading the Pattern
To download the 10 Minute Table Runner PDF pattern, visit trusted platforms like Etsy, Pinterest, or crafting websites. Search for “10 Minute Table Runner PDF” and select a reliable source. Ensure your internet connection is stable to avoid interruptions. Once purchased or accessed for free, the pattern will be sent to your email or available for immediate download. Check your spam folder if it doesn’t appear in your inbox. Save the file to your device for easy access and printing later. This step is quick and straightforward, allowing you to start your project without delay.
Printing and Preparing the Pattern
Open the downloaded PDF pattern on your device and print it using standard settings. Ensure the scale is correct by measuring the test square provided on the pattern. Cut out the template along the dotted lines for accurate fabric alignment. Lay the printed pattern on your fabric, smoothing it out to avoid wrinkles. Use scissors or a rotary cutter to cut the fabric according to the pattern’s guidelines. This step ensures precision and readiness for sewing the table runner efficiently.
Customization Ideas
Personalize your table runner by choosing vibrant fabric colors, patterns, and adding decorative stitches or embellishments to match your home decor or special occasions effortlessly.
Choosing Fabric Colors and Patterns
Select fabrics that complement your decor or theme. Use contrasting colors for a bold look or coordinating prints for harmony. Consider seasonal motifs for festive touches. Ensure fabric widths match for a seamless finish. Opt for vibrant hues to add energy or muted tones for elegance. Theme prints can personalize the runner, making it perfect for gifts or special occasions. Mix patterns wisely to avoid clashing, ensuring the design remains balanced and visually appealing in just 10 minutes of crafting.
Adding Decorative Stitches or Embellishments
Elevate your table runner with decorative stitches or embellishments for a personalized touch. Use contrasting thread for topstitching to create a striking border. Add embroidery, appliques, or subtle quilting patterns for extra flair. Consider seasonal motifs, like leaves or flowers, to match your decor. Simple stitching or iron-on designs can enhance the runner without adding complexity. These details add character while keeping the project quick and manageable, ensuring it remains a 10-minute craft that impresses with minimal effort.
Time Management Tips
Maximize efficiency by pre-cutting fabric and having materials ready. Work seamlessly to complete the runner quickly, ensuring a polished finish within the allotted 10 minutes;
Optimizing Your 10 Minutes
Start by gathering all materials and pre-cutting fabrics to save time. Focus on quick sewing techniques, ensuring straight seams and minimal adjustments. Keep distractions minimal and work efficiently to complete the runner within the 10-minute timeframe. This approach ensures a polished result while maximizing productivity. Stay organized and maintain a steady pace to achieve a professional finish effortlessly.
Avoiding Common Delays
To avoid delays, ensure all materials are pre-cut and within easy reach. Misplacing tools or fabric can waste precious time. Double-check measurements beforehand and avoid overcomplicating stitches. Keep the workspace clear and distraction-free. Use simple, efficient techniques to maintain momentum. By staying organized and prepared, you can complete the table runner smoothly without unnecessary pauses. This approach ensures a seamless and stress-free crafting experience, keeping your project on track.
Common Mistakes and Troubleshooting
Address uneven seams by re-sewing with a consistent 1/4-inch allowance. Correct alignment issues by pinning fabric carefully before stitching to ensure accuracy and avoid mismatches.
Fixing Uneven Seams
Uneven seams can easily ruin the look of your table runner. To fix this, carefully examine the stitching and identify where the fabric may have shifted during sewing. Rip the uneven seam using a seam ripper, taking care not to damage the fabric. Re-pin the edges, ensuring they align perfectly, and re-sew with a consistent 1/4-inch allowance. Press the seam flat to restore a professional finish.
Adjusting the Size
To adjust the size of your table runner, simply modify the fabric measurements. For a longer runner, increase the length of your fabric strips, and for a wider one, add more fabric to the width. Ensure all corresponding pieces maintain proportional sizing to achieve a balanced look. This flexibility allows you to customize the runner to fit any table or decorative setting perfectly, without compromising the quick completion time.
Displaying Your Finished Table Runner
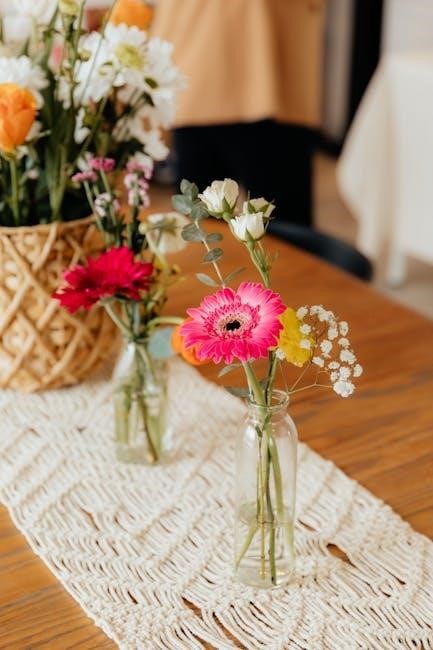
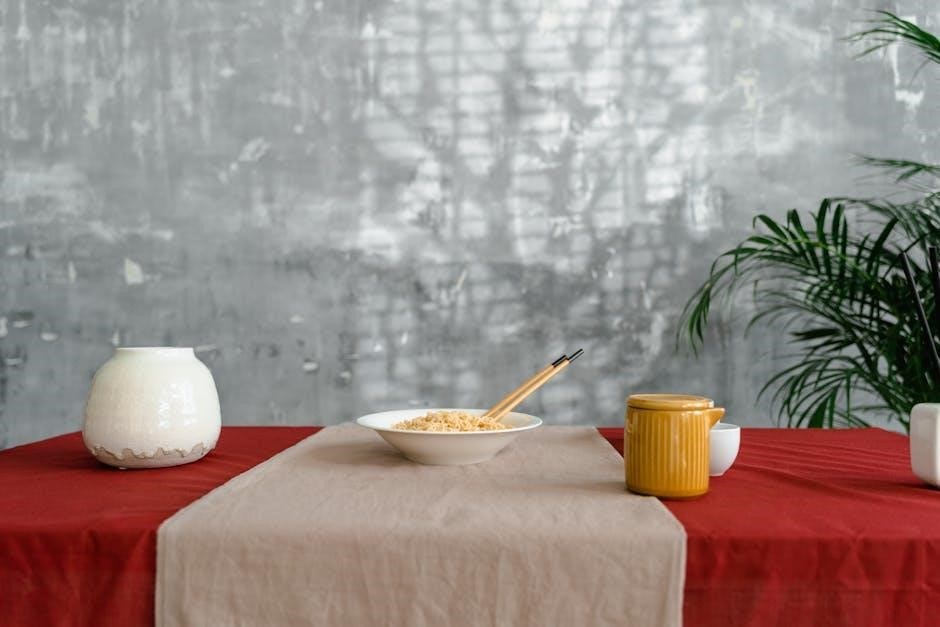
Your 10-minute table runner adds a decorative touch to any table. Use it for holidays, special occasions, or everyday dining. Pair it with complementary decor for a polished look that enhances your dining experience.
Styling Ideas for Different Occasions
Your 10-minute table runner can elevate any gathering. For holidays, choose seasonal fabrics like red for Christmas or pastels for Easter. For formal dinners, opt for elegant neutrals or metallic accents. Casual gatherings call for vibrant prints or stripes. Add decorative stitches or embroidery for a personal touch. Layer the runner over a tablecloth or use it alone for a sleek look. Experiment with textures and colors to match your home decor and create a cohesive, stylish atmosphere for any event.
Caring for Your Table Runner
To maintain your 10-minute table runner, hand wash it gently with mild detergent and air dry to prevent shrinkage. Avoid machine washing or harsh chemicals. Iron on a low setting if needed to keep it smooth. Store the runner rolled or flat in a dry place to prevent creases and mildew. For long-term preservation, avoid direct sunlight to prevent fading; Regular care ensures your table runner remains vibrant and stylish for years to come.