Boiling a mouthguard is a crucial step to ensure proper fitting and comfort. This process softens the material, allowing it to mold to your teeth perfectly.
What is a Boil-and-Bite Mouthguard?
A boil-and-bite mouthguard is a type of oral protective device designed to be customized to an individual’s teeth and mouth shape. Unlike stock mouthguards, which come pre-formed and offer minimal protection, boil-and-bite models are made of thermoplastic material that softens when exposed to boiling water. This allows the user to bite down on the guard, creating an impression of their teeth for a more secure and personalized fit. While not as precise as custom-fitted mouthguards made by dentists, boil-and-bite options provide better protection and comfort than stock guards, making them a popular choice for athletes and individuals needing dental protection at an affordable price.
Why Boiling is Necessary for Fitting
Boiling is essential for fitting a boil-and-bite mouthguard because it softens the thermoplastic material, making it pliable and adaptable. When submerged in boiling water, the material becomes moldable, allowing it to conform to the unique shape of the user’s teeth and gums. This process ensures a snug and secure fit, which is critical for effective protection during sports or other high-impact activities. Without boiling, the mouthguard remains rigid and cannot provide the necessary customization, leading to improper fit and reduced protection. The heat temporarily alters the material’s structure, enabling it to capture an accurate impression when bitten into, ensuring both comfort and safety.
Preparing the Water for Boiling
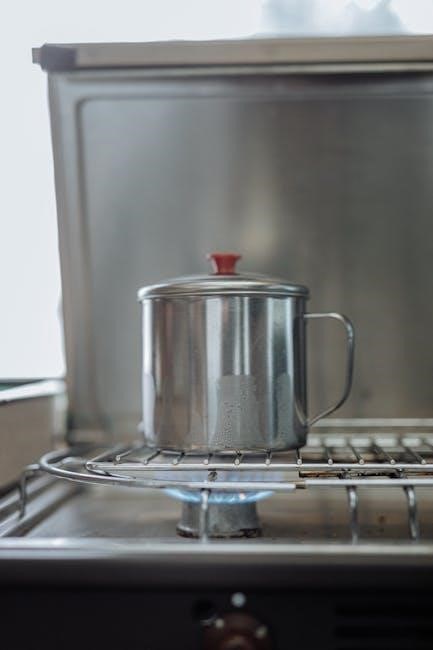
Fill a pot or microwave-safe container with enough water to fully submerge the mouthguard. Heat the water to a temperature of around 80-90°C for optimal softening.
Heating Water to the Correct Temperature
It’s essential to heat the water to the correct temperature, typically between 80°C and 90°C, to soften the mouthguard without damaging it. Overheating can cause the material to degrade, while underheating may not sufficiently soften it for molding. Use a thermometer to monitor the temperature accurately. If boiling on a stove, bring the water to a rolling boil, then reduce the heat slightly to maintain the desired temperature. For microwaves, heat in short intervals, checking the temperature each time to avoid exceeding the recommended limit. Proper temperature control ensures the mouthguard becomes pliable but remains intact.
Using a Pot or Microwave for Boiling
Both a pot and microwave can be used to boil water for softening a mouthguard. On a stovetop, fill a pot with enough water to fully submerge the mouthguard and bring it to a boil. Once boiling, reduce the heat to maintain a steady simmer. In a microwave, use a microwave-safe container filled with water, heating it in 30-second increments until the desired temperature is reached. Be cautious with microwave heating to avoid hot spots. Regardless of the method, ensure the water reaches the recommended temperature before submerging the mouthguard to achieve optimal softening for proper fitting.
Submerging the Mouthguard
Gently place the mouthguard into boiling water, ensuring it’s fully submerged. This step softens the material for a custom fit, following the manufacturer’s guidelines carefully.
Placing the Mouthguard in Boiling Water
When the water reaches the appropriate temperature, carefully place the mouthguard into the pot or container. Ensure it is fully submerged in the boiling water. Use a spoon or tongs to gently guide it into the water if needed. Avoid splashing the hot water. Keep the mouthguard fully underwater for the recommended time, typically between 30 to 60 seconds, depending on the manufacturer’s instructions. This step is crucial as it softens the material, making it pliable and ready for shaping. Proper submersion ensures even softening across the entire mouthguard.
Timing the Boiling Process (30-60 Seconds)
Timing is essential during the boiling process. Most mouthguards require 30 to 60 seconds in boiling water to soften properly. Overheating can cause distortion, while underheating may result in insufficient softening. Use a timer to ensure accuracy. Start timing once the mouthguard is fully submerged. After the recommended time, promptly remove it from the water. Exceeding the time can lead to a mouthguard that is too soft or misshapen. Proper timing ensures the material is pliable enough to mold but not damaged. Follow the manufacturer’s guidelines for specific timing instructions to achieve the best results.
Cooling the Mouthguard
Cooling the mouthguard allows it to firm up slightly, ensuring it doesn’t deform when bitten into. Proper cooling is essential for maintaining the shape and fit.
Removing the Mouthguard from Water
Once the boiling time is up, carefully remove the mouthguard from the water using tongs or a spoon to avoid burns. It’s important to handle it gently to prevent stretching or misshaping. Excess water can be shaken off, but avoid squeezing or pressing on the mouthguard, as this could alter its structure. Timing is critical—leaving it in too long can cause it to become too soft or even shrink. Proper removal ensures the mouthguard retains its shape and is ready for the next step in the fitting process.
Shaking Off Excess Water
After removing the mouthguard from the boiling water, gently shake off any excess water. This step is crucial to prevent the mouthguard from being too wet, which could interfere with the fitting process. Use tongs or a spoon to handle the mouthguard, as it may still be hot. Shake it briskly but carefully to avoid stretching or misshaping the material. Excess water can cause the mouthguard to cool unevenly, potentially leading to an improper fit. Once excess water is removed, the mouthguard is ready to be placed in the mouth for the fitting process;
Fitting the Mouthguard
Fitting involves placing the softened mouthguard over your teeth and biting down gently to shape it. This ensures a secure, personalized fit for optimal protection and comfort.
Placing the Mouthguard in the Mouth
Once cooled slightly, place the mouthguard over your upper teeth, ensuring it covers all molars. Gently press it into place with your fingers, making sure it aligns properly. Use a mirror to check the positioning and coverage. Proper alignment ensures maximum protection during sports activities. If it feels uneven, adjust it before biting down. The mouthguard should fit snugly without causing discomfort. If necessary, trim any excess material with clean scissors. Proper placement is essential for both protection and comfort, ensuring the mouthguard stays in place during use. Always follow the manufacturer’s guidelines for optimal fit and performance.
Biting Down to Shape the Mouthguard
After placing the mouthguard in your mouth, bite down firmly for about 30 seconds to shape it around your teeth. Use gentle to moderate pressure to ensure the material molds accurately. If necessary, bite in multiple areas to achieve an even fit. Some instructions recommend biting down while the mouthguard is still slightly warm. If the fit feels off, you can briefly soak it in hot water again and adjust. Proper biting ensures the mouthguard conforms to your teeth and gums, providing optimal protection. Once shaped, the mouthguard should feel secure and comfortable, ready for use during sports or activities.

Allowing the Mouthguard to Set
Let the mouthguard cool completely after fitting. This ensures the material hardens and retains its shape, providing a secure and lasting fit for protection during use.
Waiting for the Mouthguard to Cool
After molding, allow the mouthguard to cool naturally to room temperature. Avoid using ice water to speed up cooling, as this can cause uneven hardening. Proper cooling ensures the mouthguard retains its shape and provides a snug fit. Cooling typically takes a few minutes, depending on the material. Once cooled, check the fit by placing it in your mouth and biting gently. If adjustments are needed, repeat the boiling process but be cautious not to overheat the mouthguard, as this can degrade its quality. Proper cooling is essential for optimal protection and comfort during use.
Checking the Fit and Adjusting if Necessary
Once the mouthguard has cooled, carefully place it in your mouth and bite down gently to assess the fit. Ensure it covers all necessary teeth and feels snug but not restrictive. If the fit is uncomfortable or uneven, you may need to repeat the boiling and molding process. However, avoid overheating the mouthguard, as this can compromise its integrity. Proper fit is crucial for effective protection and comfort during use. If adjustments are required, follow the same boiling and cooling steps, taking care not to overheat the material. A well-fitted mouthguard ensures optimal protection for your teeth and mouth.