Welcome to the Honeywell T5 Installation Manual. This guide provides a comprehensive overview of the T5 Smart Thermostat, ensuring a smooth and safe installation process. Designed for both professionals and DIY enthusiasts, the manual covers essential steps, safety precautions, and compatibility checks. It also highlights the thermostat’s advanced features, such as smart scheduling and energy-saving capabilities, helping you maximize comfort and efficiency. Follow the instructions carefully to ensure proper setup and functionality of your Honeywell T5 Smart Thermostat.

1.1 Overview of the Honeywell T5 Smart Thermostat
The Honeywell T5 Smart Thermostat is a cutting-edge, programmable device designed for seamless integration with modern HVAC systems. Known for its sleek design and user-friendly interface, it offers advanced features like smart scheduling, energy-saving modes, and compatibility with the Honeywell Home app. The T5 learns your system’s needs, optimizing temperature control and comfort. With its Wi-Fi connectivity, it allows remote adjustments and monitoring, ensuring efficient energy use. This thermostat is ideal for homeowners seeking a balance of convenience, performance, and cost-effectiveness, making it a standout choice in smart home technology.
1.2 Importance of Following the Installation Manual
Following the Honeywell T5 installation manual is crucial for ensuring a safe, correct, and efficient setup. It provides step-by-step guidance to avoid potential risks, such as electrical hazards or system damage. The manual ensures compatibility with your HVAC system and helps you take advantage of all smart features. Proper installation guarantees optimal performance, energy efficiency, and long-term reliability. By adhering to the instructions, you can prevent common issues and enjoy a seamless user experience with your T5 Smart Thermostat.
System Requirements and Compatibility
The Honeywell T5 Smart Thermostat is compatible with most HVAC systems. Ensure you have a smartphone, Wi-Fi password, and basic tools for installation. The system supports various heating and cooling configurations, making it versatile for different home setups. Compatibility checks are essential to ensure smooth operation and optimal performance.
2.1 Checking Compatibility with Your HVAC System
Before installing the Honeywell T5 Smart Thermostat, ensure compatibility with your HVAC system. The T5 works with most heating and cooling systems, including heat pumps, furnaces, and air conditioners. Verify your system’s voltage requirements and wiring configuration. Use the compatibility checker tool provided in the manual to confirm suitability. Additionally, check if a C-wire is required for your setup. Proper compatibility ensures optimal performance and avoids installation issues. Consulting a professional is recommended if you’re unsure about your system’s specifications.
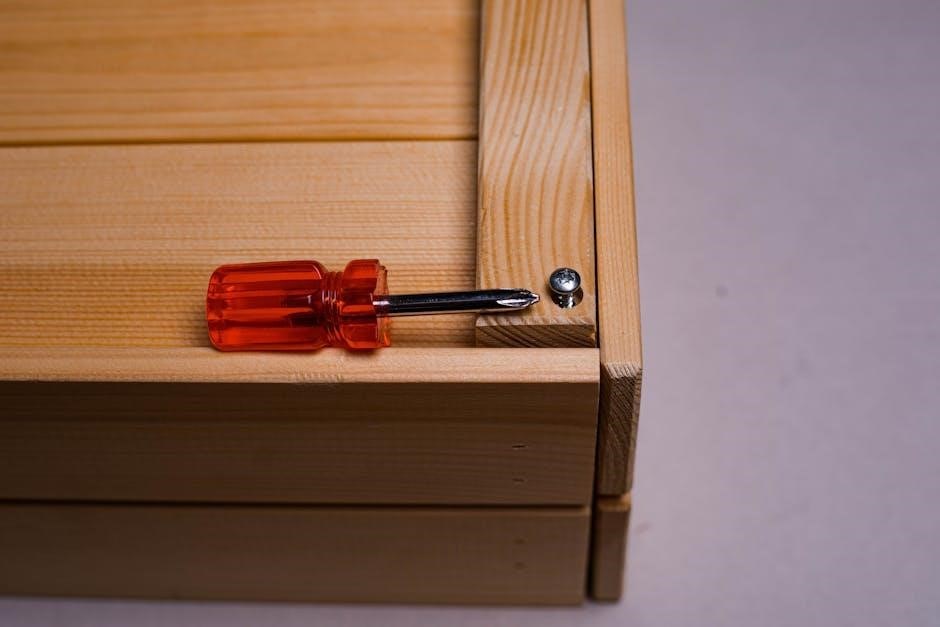
2.2 Necessary Tools and Materials for Installation
To install the Honeywell T5 Smart Thermostat, gather the following tools and materials: a screwdriver, pencil, and level for accurate mounting. Ensure you have your Wi-Fi password and a smartphone with the Resideo App installed. Basic tools like a wire stripper may also be needed for wiring connections. The thermostat includes mounting screws, but verify if additional hardware is required for your specific setup. Having all materials ready ensures a smooth installation process and avoids unnecessary delays.

Step-by-Step Installation Process

Turn off power to your HVAC system. Photograph existing wiring for reference. Mount the thermostat, connect wires as per guidelines, and configure settings via the Resideo app.
3.1 Preparing the Site for Thermostat Installation
Before installation, ensure the area is clear and safe. Switch off power to your HVAC system at the circuit breaker. Gather tools like screwdrivers, a pencil, and a level. Remove the old thermostat carefully, noting wire labels. Clean the wall surface and ensure it is level. Take photos of the existing wiring for reference. This preparation ensures a smooth and accurate installation process for your Honeywell T5 Smart Thermostat, minimizing errors and potential risks.
3.2 Detailed Installation Steps from the Manual
Mount the T5 thermostat base to the wall using screws provided, ensuring it is level. Connect the wires to the appropriate terminals, matching your system’s configuration. Turn on the power and follow in-app instructions to configure settings. Use the Resideo app to pair the thermostat with your HVAC system. Test heating and cooling functions to ensure proper operation. Refer to the manual for specific wiring diagrams and troubleshooting tips. This step-by-step process ensures a successful installation of your Honeywell T5 Smart Thermostat.
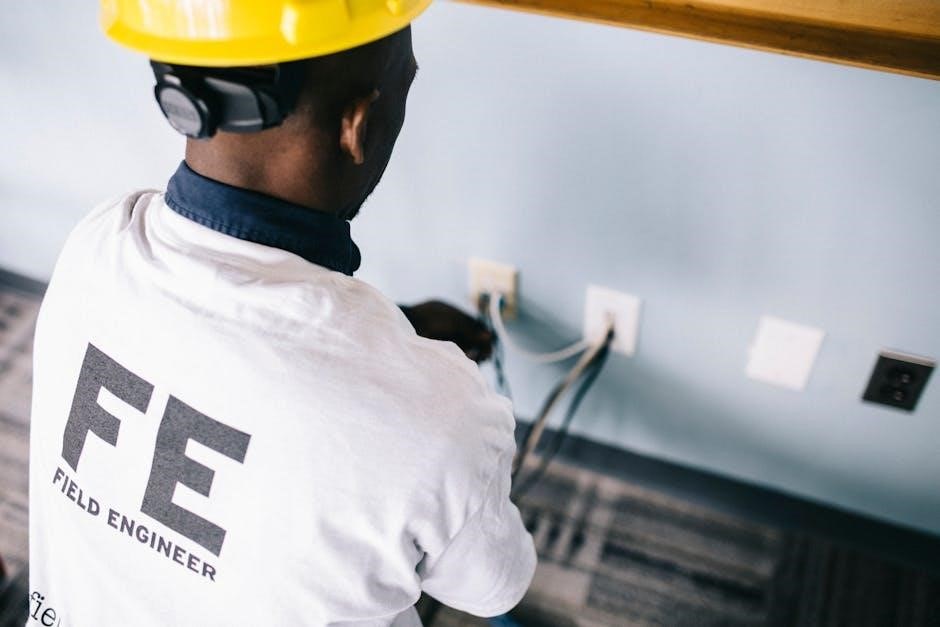
3.3 Wiring Guidelines and Safety Precautions
Always disconnect power before starting installation to avoid electrical shocks. Ensure wires match the terminal labels on the T5 thermostat. Use the correct wire sizes and verify compatibility with your HVAC system. Refer to the wiring diagram in the manual for precise connections. Secure all wires firmly to prevent loose connections. If unsure, consult a licensed electrician. Follow safety guidelines to ensure a safe and reliable installation of your Honeywell T5 Smart Thermostat.
Features and Benefits of the Honeywell T5 Thermostat
The Honeywell T5 offers smart features like energy-saving modes, scheduling, and compatibility with the Honeywell Home app. It provides precise temperature control, enhancing comfort and efficiency while reducing energy bills.
4.1 Smart Features and Energy-Saving Capabilities
The Honeywell T5 Smart Thermostat boasts advanced smart features, including energy-saving modes and geofencing, which adapt to your schedule and location. It learns your heating and cooling preferences to optimize temperatures, reducing energy waste. With the Honeywell Home app, you can remotely monitor and adjust settings, ensuring efficient energy use. These capabilities help lower utility bills while maintaining comfort, making the T5 a practical choice for modern homes focused on energy conservation and smart technology integration.
4.2 Advanced Temperature Control and Scheduling
The Honeywell T5 offers advanced temperature control with customizable scheduling, allowing precise adjustments to suit your lifestyle. Geofencing technology automatically adjusts temperatures based on your location, optimizing comfort and energy use. Smart scheduling learns your preferences over time, ensuring ideal temperatures when you need them most. This feature-rich system integrates seamlessly with the Honeywell Home app, enabling remote adjustments and maximizing efficiency without compromising comfort. These capabilities make the T5 a versatile solution for modern households seeking precise temperature management and energy savings.
Configuration and Setup
Configure your Honeywell T5 by connecting it to Wi-Fi and setting up through the Honeywell Home app. Follow manual setup options to customize temperature settings and schedules for optimal comfort and energy efficiency.
5.1 Initial Setup and Connecting to Wi-Fi
Start by powering on your Honeywell T5 Smart Thermostat and selecting Manual Setup. Open the Honeywell Home app, create or log into your account, and follow the prompts to connect your thermostat to your Wi-Fi network. Ensure your router is nearby and your Wi-Fi password is ready. The thermostat will search for available networks; select yours and enter the password. Once connected, the thermostat will update and sync with the app. A stable internet connection is crucial for remote access and smart features. Complete the setup by configuring your preferences in the app.
5.2 Navigating the Honeywell Home App

The Honeywell Home app provides an intuitive interface to control your T5 Smart Thermostat. Upon opening, you’ll see the home screen displaying current temperature, setpoint, and system status. Use the navigation menu to access settings, scheduling, and energy usage reports. The app allows you to adjust temperature, switch between heating and cooling modes, and enable geofencing for location-based temperature adjustments. Customize your comfort by creating schedules or relying on the app’s smart learning capabilities. Notifications and energy-saving tips are also available to optimize your system’s performance and efficiency.
Troubleshooting Common Installation Issues
Common issues include connectivity problems or wiring mismatches. Restart your router, check wiring connections, and ensure compatibility with your HVAC system. Refer to the manual for detailed solutions.
6.1 Resolving Connectivity Problems
Connectivity issues with your Honeywell T5 thermostat can often be resolved by restarting your router or checking your Wi-Fi password. Ensure your thermostat is connected to the correct network and that your smartphone has the Resideo App installed. If problems persist, power cycle your router and thermostat, then retry the connection process. Refer to the manual for detailed troubleshooting steps to restore connectivity and ensure proper functionality of your smart thermostat.
6.2 Addressing Compatibility Concerns
Before installation, verify that your HVAC system is compatible with the Honeywell T5 thermostat. Use the Resideo App or consult the manual to check compatibility. Ensure your system supports the required wiring configuration. If issues arise, refer to the troubleshooting guide or contact Honeywell support. Proper compatibility ensures seamless operation and optimal performance of your smart thermostat, avoiding potential installation or functionality issues down the line.
Completing the Honeywell T5 installation, perform final checks to ensure proper functionality and connectivity. Verify thermostat operation, Wi-Fi connection, and system compatibility for optimal performance.
7.1 Ensuring Proper Functionality After Installation
After completing the installation, verify the Honeywell T5 thermostat’s functionality. Ensure the display lights up and responds to touch commands. Test heating and cooling modes to confirm proper operation. Check Wi-Fi connectivity by opening the Honeywell Home app to see if the thermostat is listed. Schedule a test cycle to ensure automatic temperature adjustments work correctly. Finally, review all settings and confirm they align with your preferences for optimal performance and energy efficiency.